

X
Click here to view all steps
Don't show me again

Steps
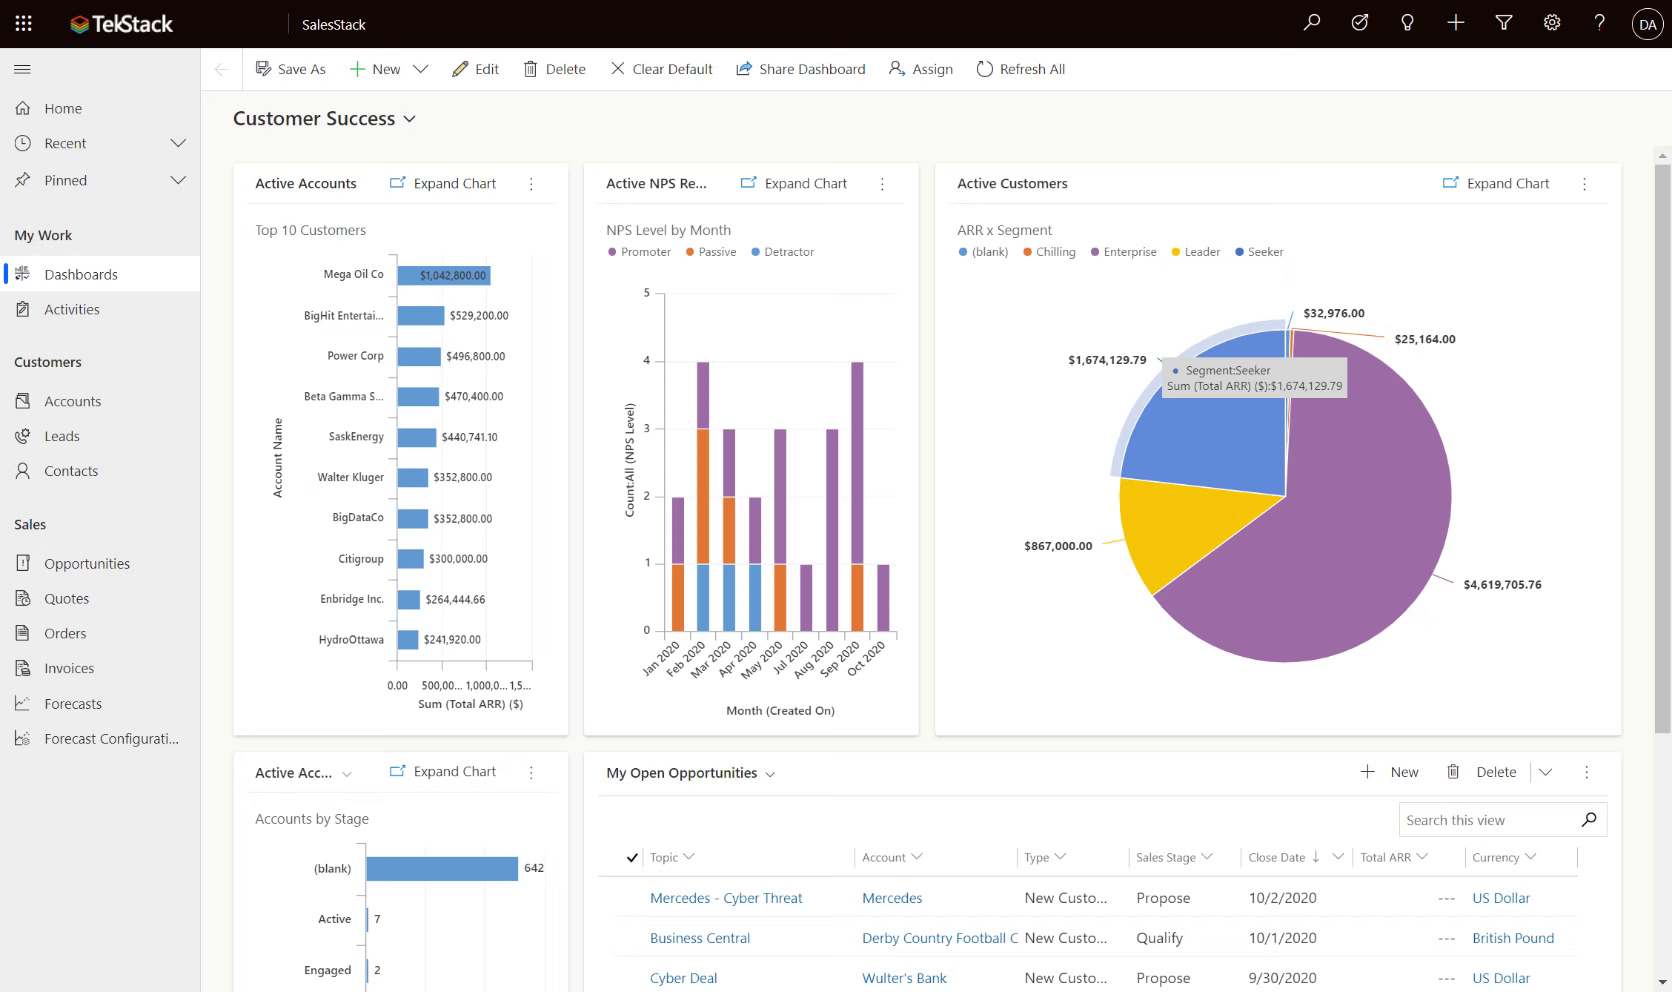
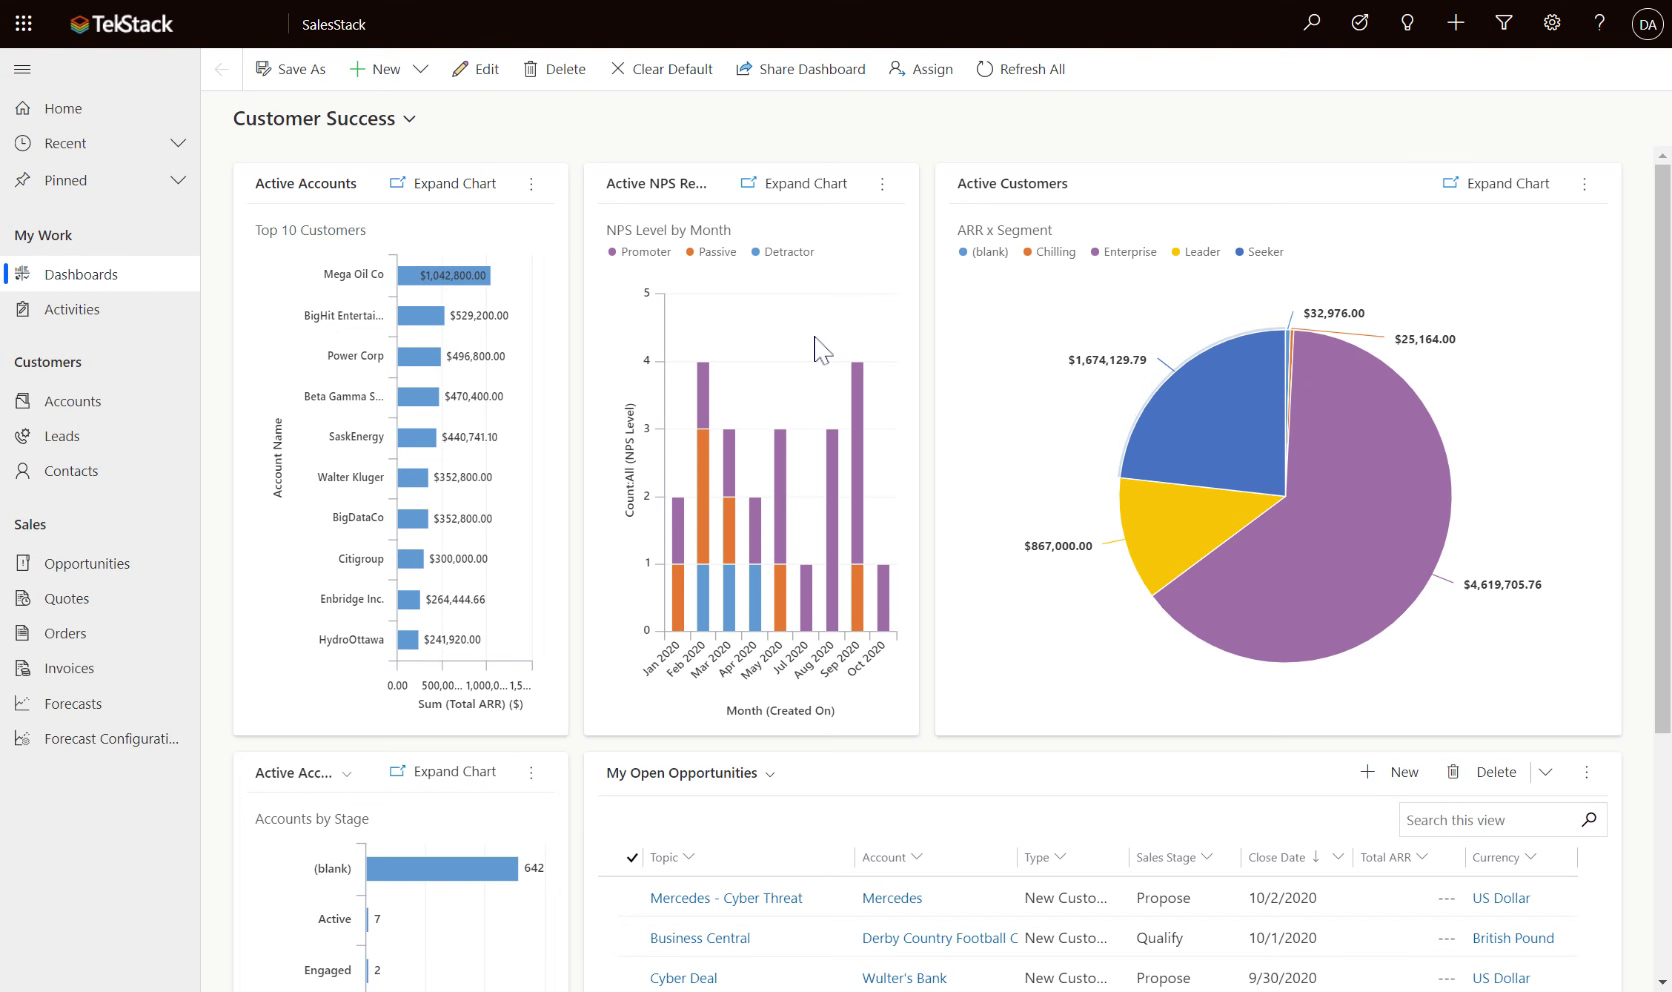
- SalesStack Dashboard
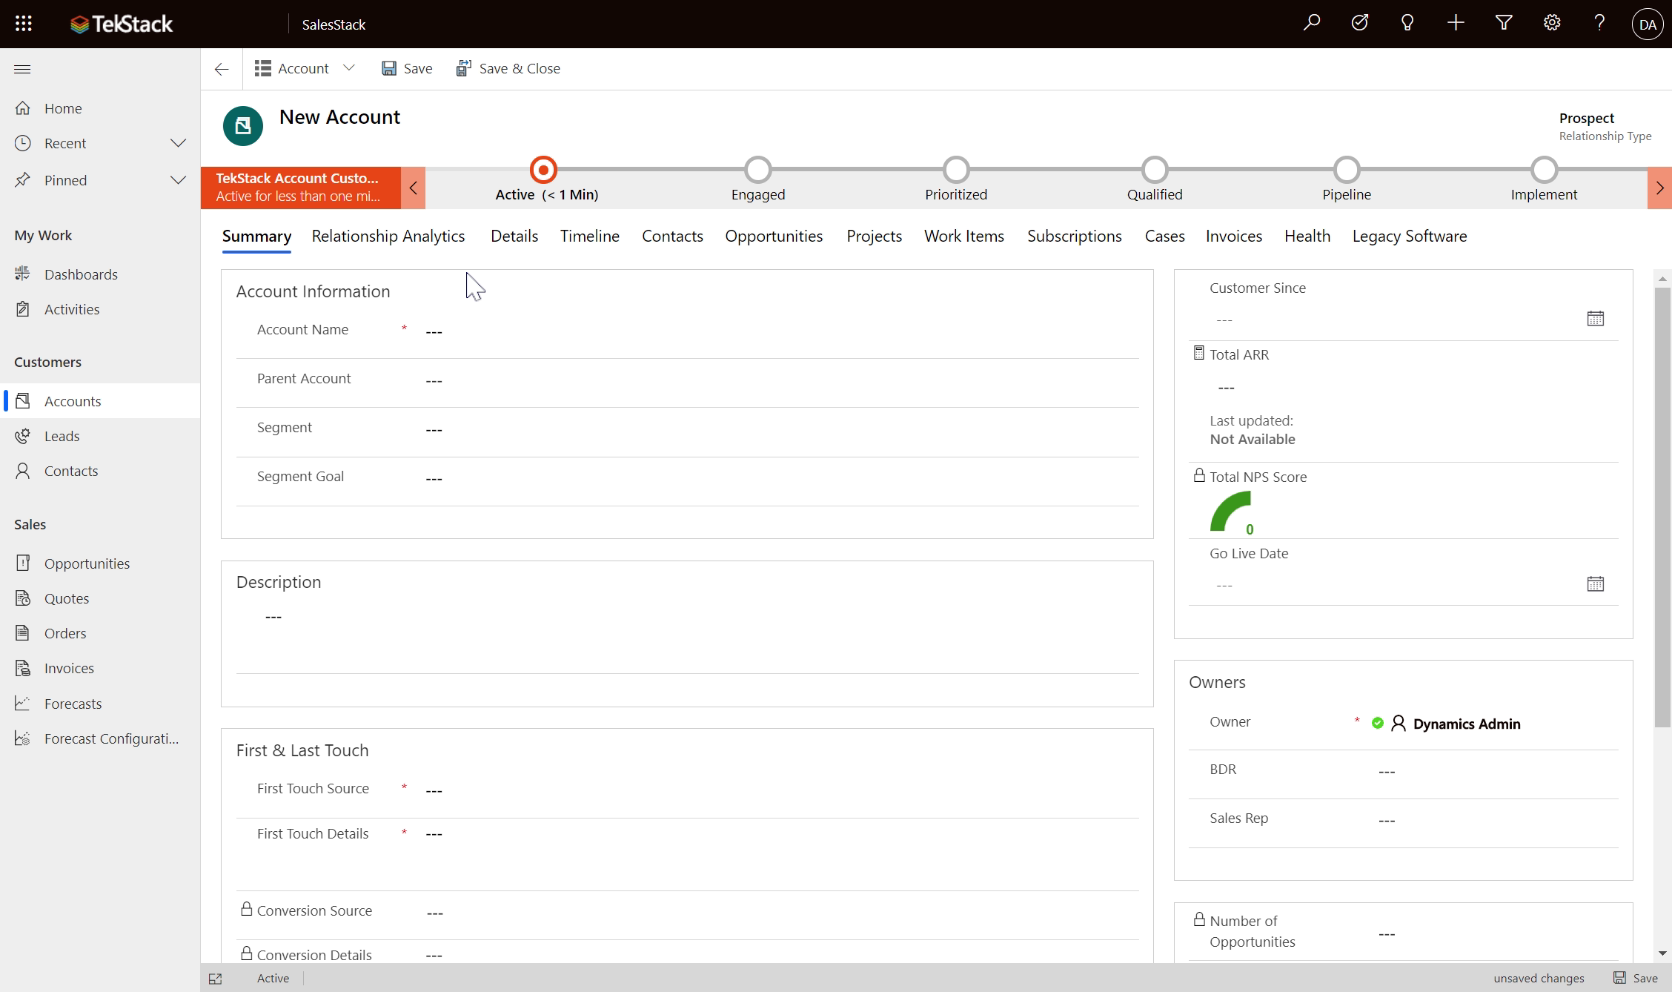
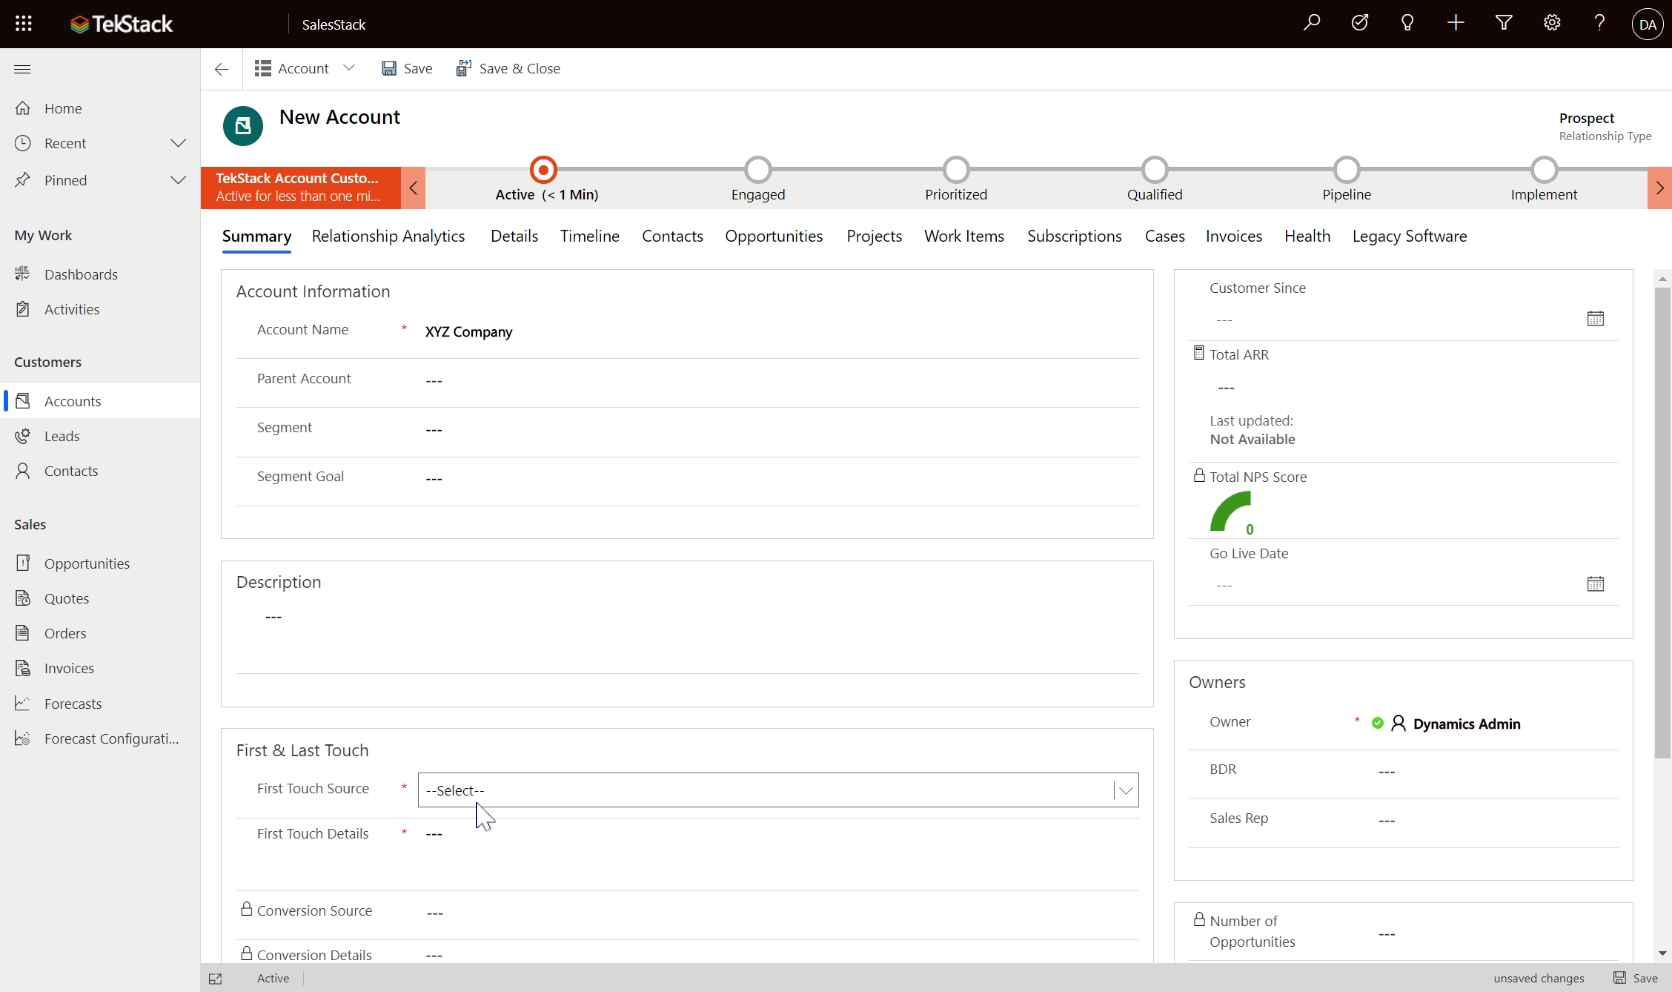
- New Account
- Enter Account Information
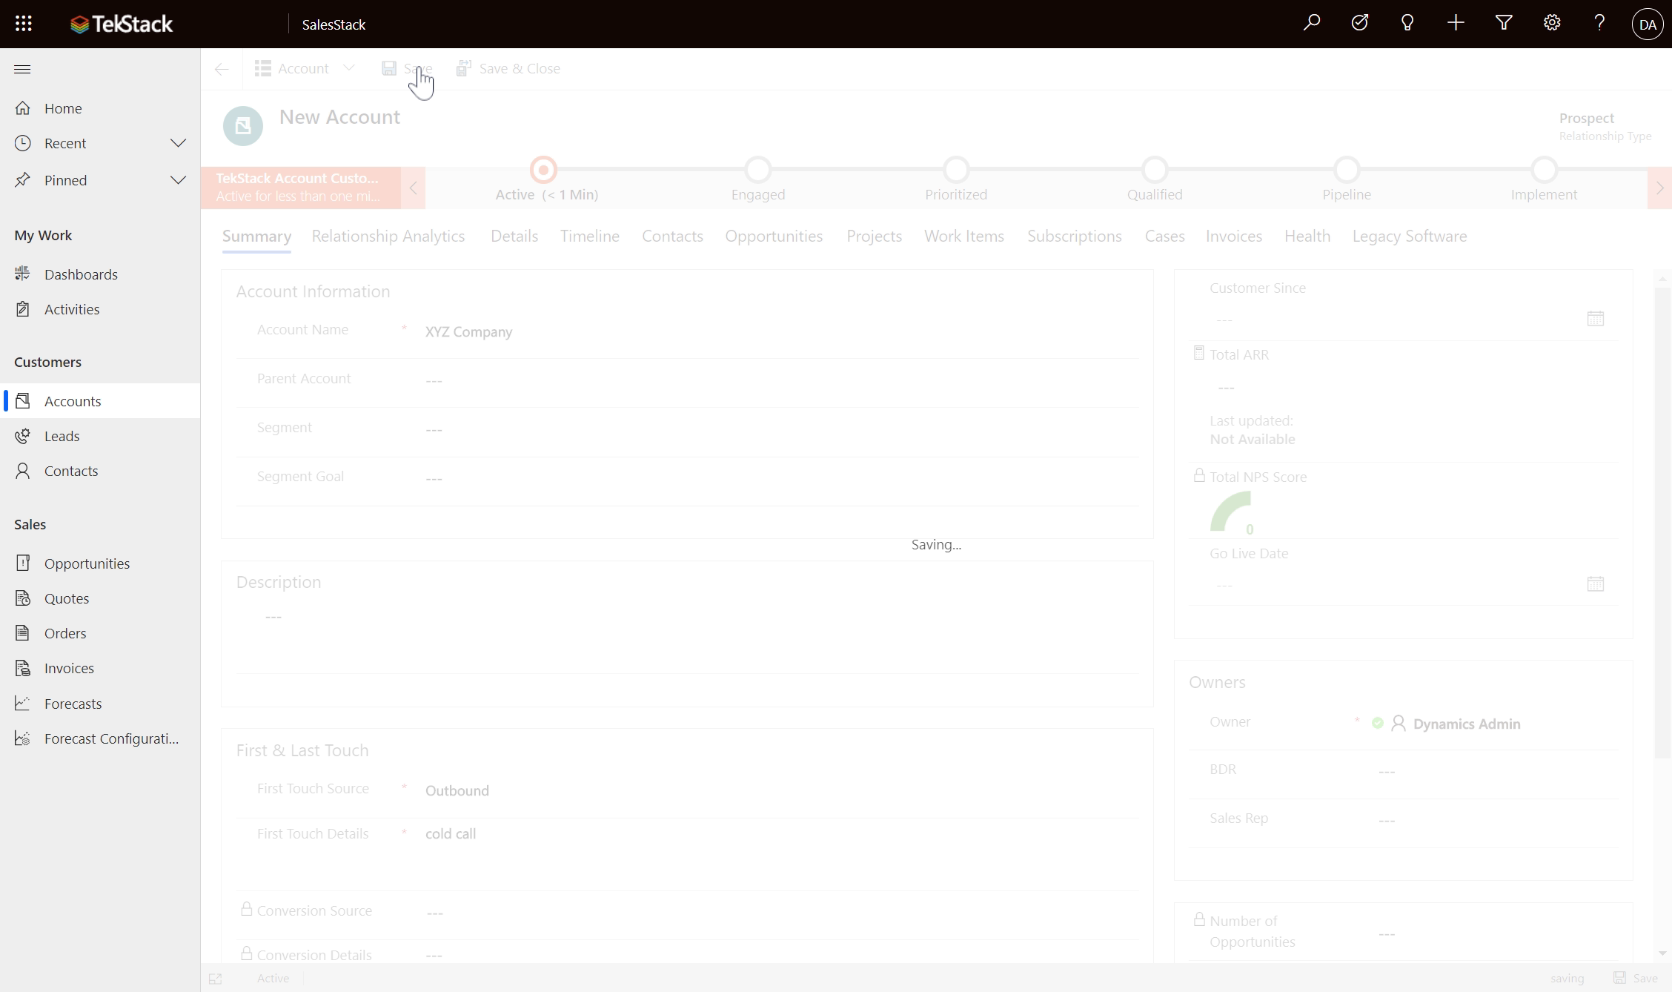
- First Touch Lead Source
- First Touch Details
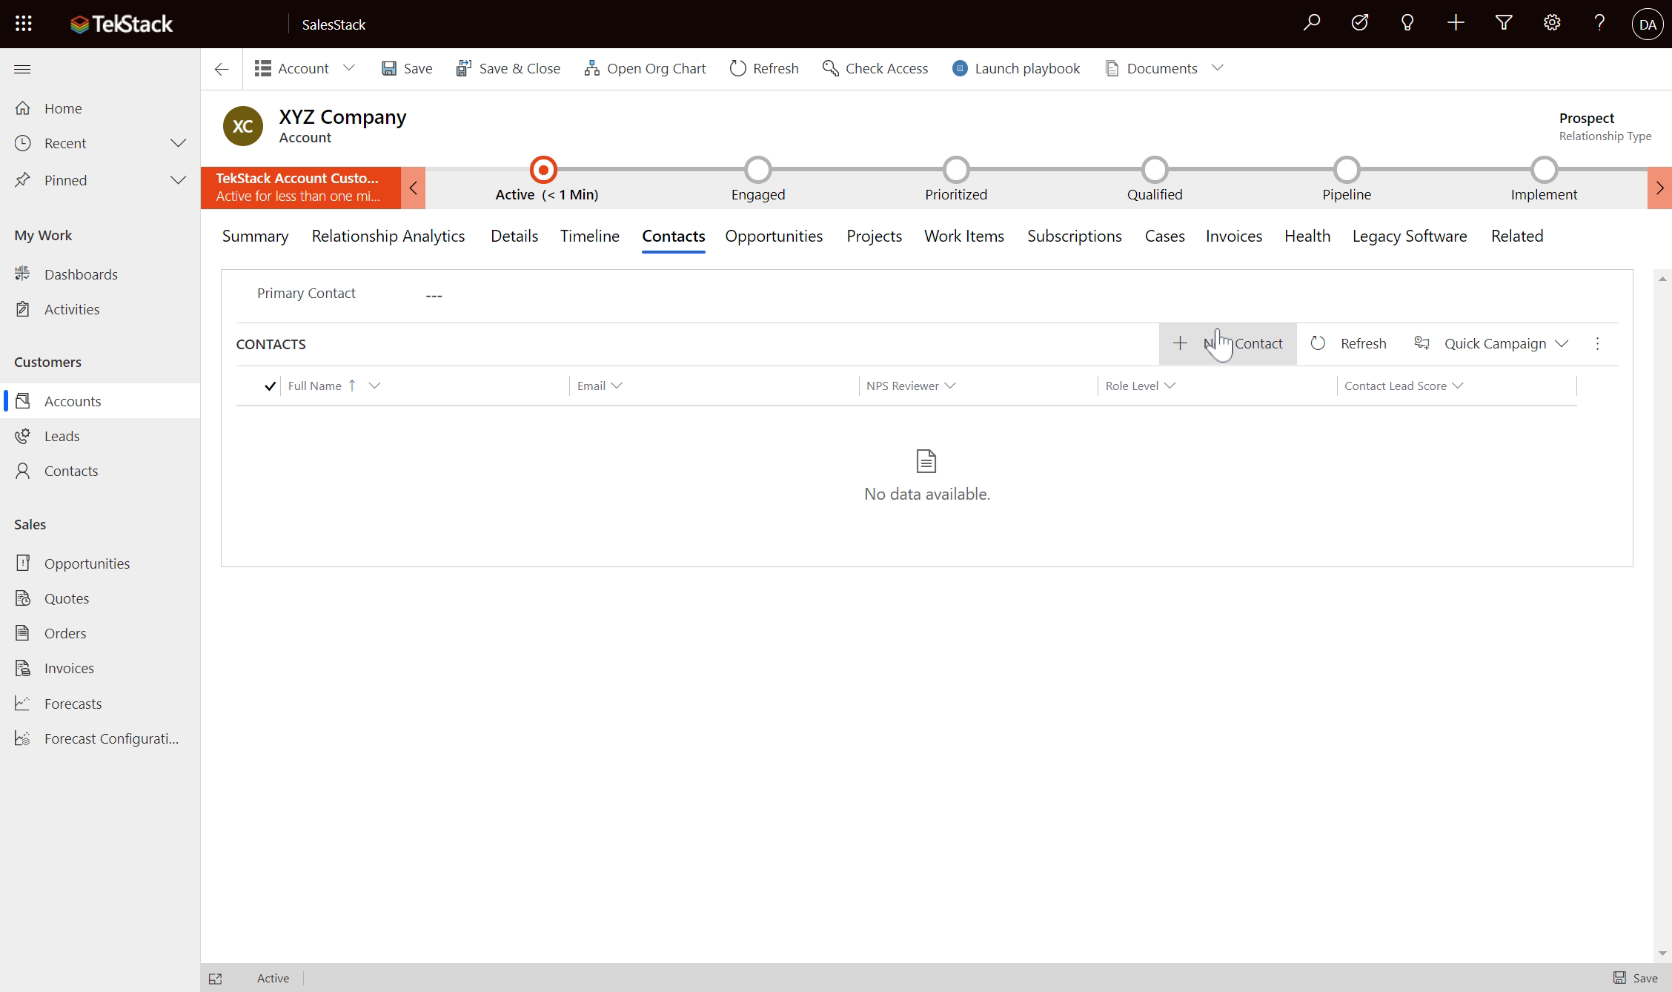
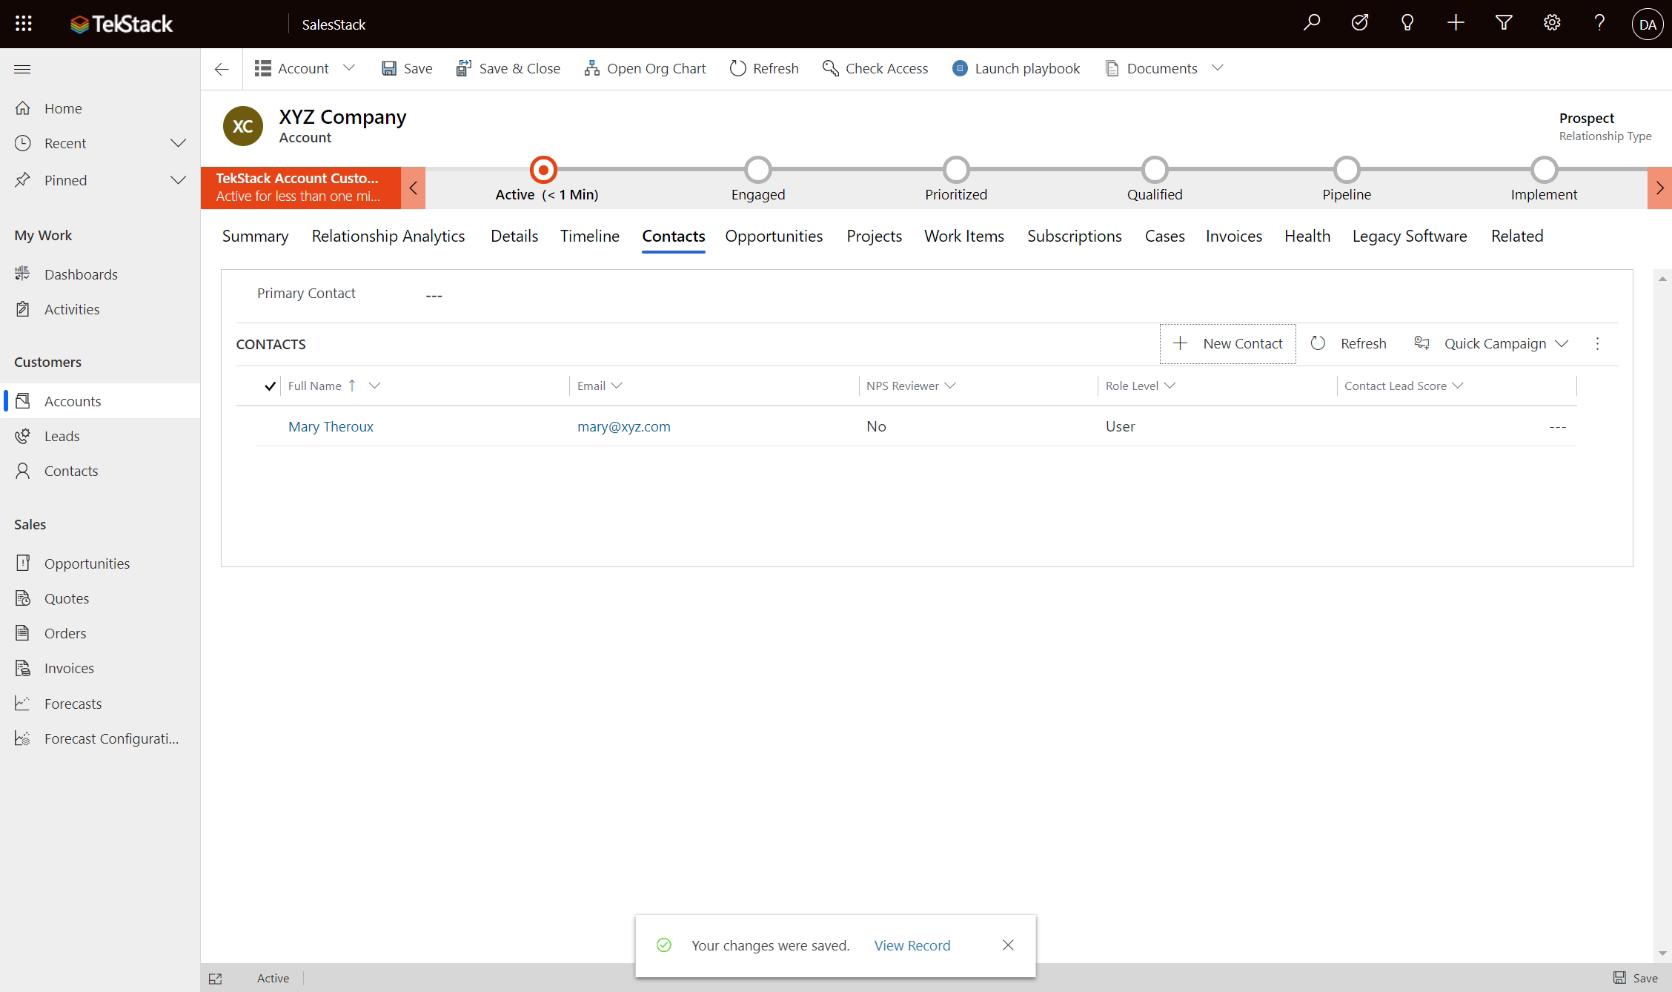
- Creating a Contact
- Create a Contact
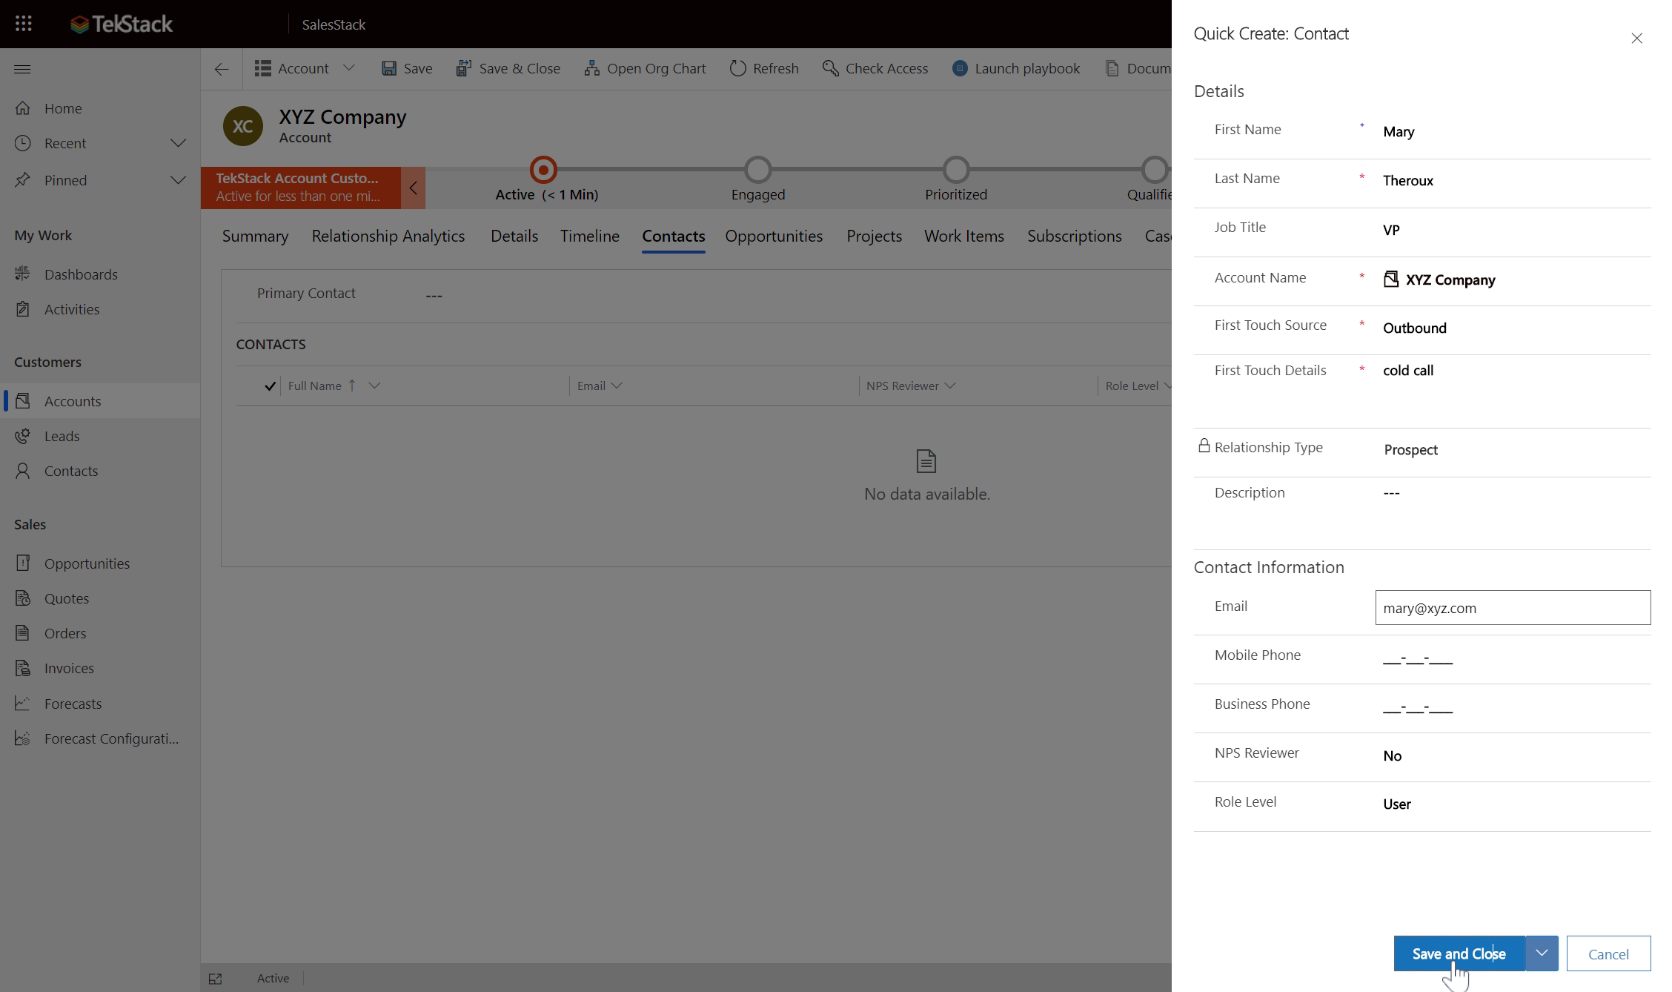
- Create a Contact
- Save Contact Record
- Back to Summary
- Overview of Account form
Steps
- SalesStack Dashboard
- New Account
- Enter Account Information
- First Touch Lead Source
- First Touch Details
- Creating a Contact
- Create a Contact
- Create a Contact
- Save Contact Record
- Back to Summary
- Overview of Account form
Steps
- SalesStack Dashboard
- New Account
- Enter Account Information
- First Touch Lead Source
- First Touch Details
- Creating a Contact
- Create a Contact
- Create a Contact
- Save Contact Record
- Back to Summary
- Overview of Account form
Steps
- SalesStack Dashboard
- New Account
- Enter Account Information
- First Touch Lead Source
- First Touch Details
- Creating a Contact
- Create a Contact
- Create a Contact
- Save Contact Record
- Back to Summary
- Overview of Account form
Steps
- SalesStack Dashboard
- New Account
- Enter Account Information
- First Touch Lead Source
- First Touch Details
- Creating a Contact
- Create a Contact
- Create a Contact
- Save Contact Record
- Back to Summary
- Overview of Account form
Steps
- SalesStack Dashboard
- New Account
- Enter Account Information
- First Touch Lead Source
- First Touch Details
- Creating a Contact
- Create a Contact
- Create a Contact
- Save Contact Record
- Back to Summary
- Overview of Account form
Steps
- SalesStack Dashboard
- New Account
- Enter Account Information
- First Touch Lead Source
- First Touch Details
- Creating a Contact
- Create a Contact
- Create a Contact
- Save Contact Record
- Back to Summary
- Overview of Account form

Steps
- SalesStack Dashboard
- New Account
- Enter Account Information
- First Touch Lead Source
- First Touch Details
- Creating a Contact
- Create a Contact
- Create a Contact
- Save Contact Record
- Back to Summary
- Overview of Account form
Steps
- SalesStack Dashboard
- New Account
- Enter Account Information
- First Touch Lead Source
- First Touch Details
- Creating a Contact
- Create a Contact
- Create a Contact
- Save Contact Record
- Back to Summary
- Overview of Account form

Steps
- SalesStack Dashboard
- New Account
- Enter Account Information
- First Touch Lead Source
- First Touch Details
- Creating a Contact
- Create a Contact
- Create a Contact
- Save Contact Record
- Back to Summary
- Overview of Account form
Steps
- SalesStack Dashboard
- New Account
- Enter Account Information
- First Touch Lead Source
- First Touch Details
- Creating a Contact
- Create a Contact
- Create a Contact
- Save Contact Record
- Back to Summary
- Overview of Account form
Steps
- SalesStack Dashboard
- New Account
- Enter Account Information
- First Touch Lead Source
- First Touch Details
- Creating a Contact
- Create a Contact
- Create a Contact
- Save Contact Record
- Back to Summary
- Overview of Account form

1
Timeline tab will show all activities associated to the account including emails or phone calls to associated contacts, as well as any account changes.
2
Opportunities tab identifies any opportunities associated to the account.
3
View all projects
4
Subscriptions tab tells you what the customer owns and when the renewal is coming due.
5
View support cases
6
View invoices and invoice status
7
Relationship Type helps identify accounts as Active Customers or Prospects.
8
The Account Stage tells you where the account is in the Customer Lifecycle. The stage will move along automatically, or with manual intervention.